
 by
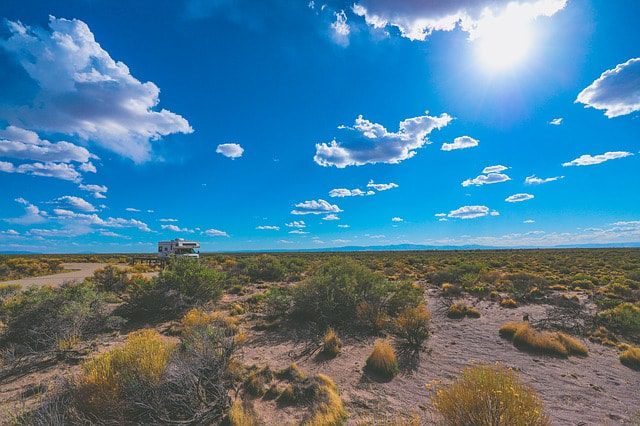
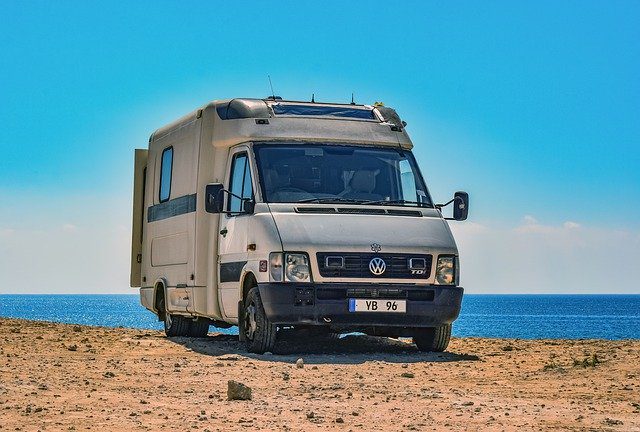
by I’m going to share Step-By-Step Process for RVs – R-Pods When Breaking Camp. The steps that I take that are common the most R-Pods when breaking camp at a full hookup campsite. Hope you read this complete post and share it on social media channels.
I’m going to give you some tips about breaking camp that may really help you when you get in the situation of a full campsite hook-up here.
Step-By-Step Process for RV’s – R-Pods When Breaking Camp
Assign Tasks
If you’re traveling with others consider assigning each person specific tasks.
So what will this do this will help provide assistance on the tasks and create a sense of ownership.
Cross Checks
The next point considers doing cross-checks on vital tasks really important.
It avoids something being overlooked for example
“one time I left the blue ox swaypro latch ranch on the top of my tonneau cover and drive away”
Do Tasks Early
Next tip if inclement weather is expected do certain tasks early. It must be remembered.
Now, this is really important like putting up your awning doing your dump tanks checking tires slide-outs bikes, etc.
Do Night Before
Okay, another tip, if it’s a morning departure, do certain tasks the night before and by the way, when you do this your neighbors at your campsite will probably really appreciate it.
Outdoor Checklist
It so let’s look at the outdoor checklist for tearing down camp at a full hookup campsite.
Step #1: Torquing Lug Nuts
The first thing I like doing is torquing lug nuts I have a torque wrench that I got from Harbor Freight and I make sure I go on both wheels and torque the lug nuts before any trip.
That’s always an important thing to do from a safety perspective.
Step #2: Check Tire Pressure
The second thing on the outdoor checklist part is to check your tire pressure.
Now you should have if you don’t you should have a tire pressure gauge with you and you want to take your cold tire pressure and make sure it’s according to the manufacturer’s inflation amount.
Step #3: Brush Off Slide-Out
Okay, the next thing I do is brush off the slide out.
Now I have a small ladder I keep in the back of my truck and I just get that out with a small brush and brush and I go to the top of the slide-out.
I just brush any kind of debris off the slide out.
So it’s important to do this before you bring the slide.
Step #4: Pull In Slide Out
Which is actually the next step is actually pulling the slide out.
So it’s just a matter of cleaning and brushing off any debris that’s on the slide-out.
Step #5: Dump Tanks
Now you’re at a full hookup campsite now so the next thing I do is dump my tanks.
Now you can take your time doing this because you’re at a full hookup campsite so there’s no one behind you in line in the dump station.
You can just open the black tank and let it drain.
Step #6: Flush Black Tanks
I always do a pretty thorough black tank flush it’s because I I’m you know have a full hookup and I paid for that.
So I’m gonna flush the tanks really well and take my time with that and get it clean.
So I take my time at that of course the black tank side and then the grey tank side.
Step #7: Put Up Water Hoses
So the next thing is unhooking any water hoses.
Now this includes the water filter and any hoses that you want to do in any kind of nozzles and things that you have to control the water to the rig.
Now obviously full hookup so you have city water at this point you’re not using your fresh water and you just want to unhook everything and put it away.
Step #8: Turn Off the Water Heater
It’s supposed to be of course the next step I’m going to take is to turn off the water heater now I almost always use the electric water heater and not the propane.
Especially when you’re hooked up and have 30 amp electricity whether it’s a full hookup campsite or not is if I have electricity I’m going to use the water heater electric so I just turn that off.
Indoor Checklist
So now let’s look at the indoor checklist now there are several things we have to do from an indoor perspective.
Step #1: Remove Electronics
The first thing is to remove the electronics and delicate items.
So almost every time we travel we have laptops or other delicate electronics that we want to take out a tow vehicle so they don’t get bounced around.
Step #2: Secure Loose Items
Of course, secure any loose items you know on anything flying.
Especially if you hit rough roads at all you can add things flying pretty well so make sure you secure all loose items.
Step #3: Securing TV
Including securing the TV so you want to use the strap that’s with your TV and secure it down.
Step #4: Turn Off the Antenna Booster
Of course, turn off the antenna booster if you forgot to do that.
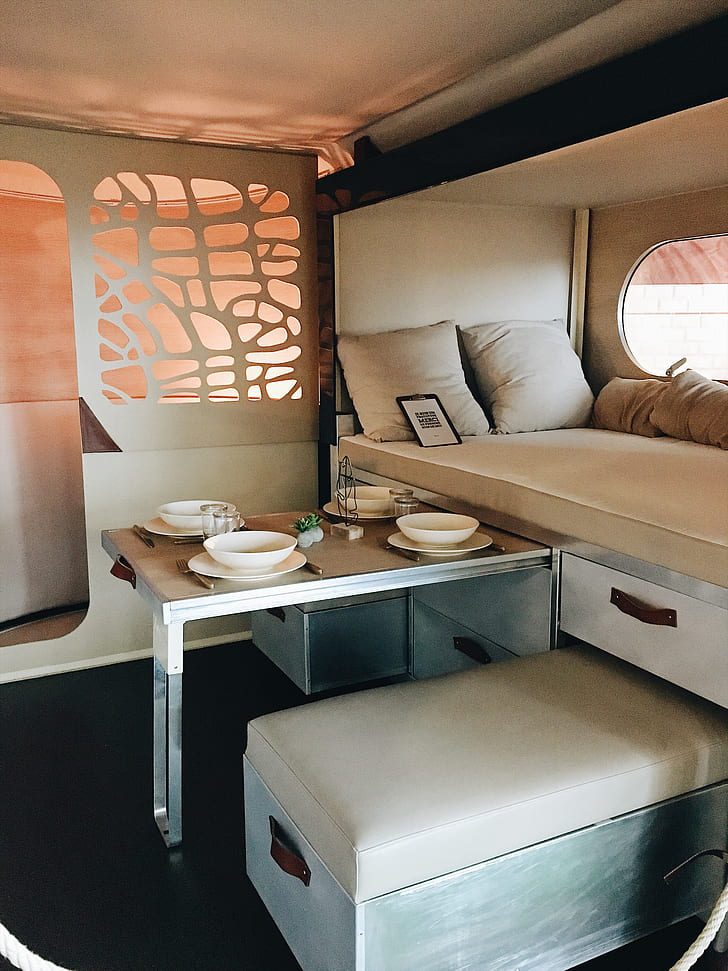
Step #5: Secure Dinette Table
And Of course, secure your dinette table. Usually turning it upside down on the cushions and tying it down strap with the strap and securing it.
Step #6: Remove Ottoman Cushions
If you have a 179 like I do you’ve got to remove the Ottoman cushions right before you bring the slide out.
Hopefully, this is helpful for those who are getting going and tearing down and have to go and tear down when you do a full hookup campsite.
Please Like and Share this post on social media channels. Comment down below if you have any queries related to this article.

One thought on “Step-By-Step Process for RVs – R-Pods When Breaking Camp”